Como exibir o chat do YouTube no Stream OBS?

A transmissão ao vivo no YouTube não se resume mais apenas a exibir vídeos — trata-se de... interação em tempo real O chat ao vivo é onde os espectadores reagem, fazem perguntas e interagem diretamente com o streamer, tornando-se uma parte crucial de qualquer transmissão ao vivo de sucesso. Exibir o chat do YouTube diretamente na sua transmissão ajuda os espectadores a se sentirem incluídos e incentiva mais interação, especialmente em transmissões de jogos, tutoriais, podcasts e discussões ao vivo.
O OBS Studio é uma das ferramentas gratuitas mais populares para streaming e gravação, mas muitos iniciantes têm dificuldades com uma dúvida comum: como exibir o chat do YouTube na transmissão do OBS. Embora o OBS seja poderoso, sua configuração pode parecer técnica no início, principalmente ao lidar com fontes do navegador, incorporações e ajustes de layout.
Neste artigo, vamos mostrar passo a passo como exibir o chat do YouTube na sua transmissão usando o OBS e, em seguida, apresentar uma alternativa muito mais simples para usuários que desejam gravar transmissões do YouTube com o chat incluído de forma fácil.
1. Como exibir o chat do YouTube no Stream OBS?
Exibir o chat ao vivo do YouTube na sua transmissão do OBS geralmente envolve adicionar o chat como um elemento do feed. Fonte do navegador Abaixo estão os métodos mais confiáveis usados por streamers.
Método 1: Adicionar o chat do YouTube como uma fonte do navegador
Este é o método mais fácil e mais utilizado.
Passos:
- Visite o YouTube Studio → Contente → Ao vivo Em seguida, inicie ou agende sua transmissão ao vivo.
- No painel de controle da transmissão, localize o Chat ao vivo e clique nos três pontos (⋮) → Bate-papo pop-up Na janela de bate-papo que se abrir, copie o URL da barra de endereços.
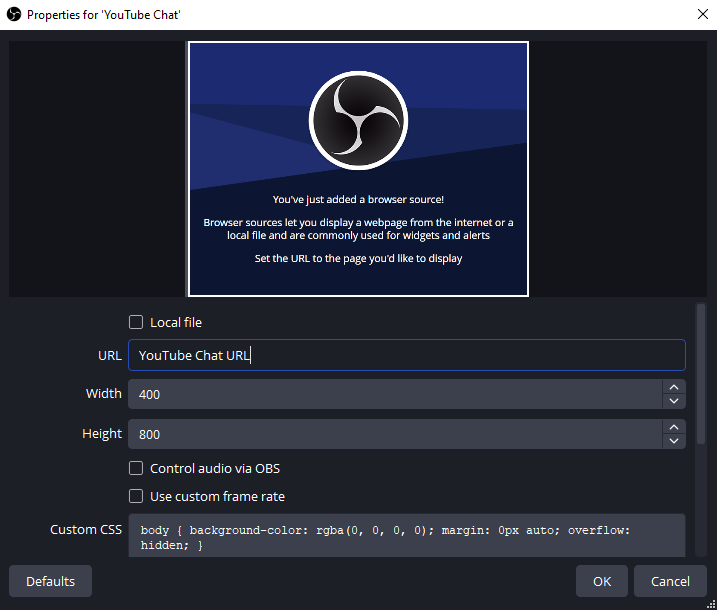
- Abra o OBS Studio → Em Fontes , clique + → Navegador
- Dê um nome (ex.: Chat do YouTube) → Cole o URL do chat → Defina o tamanho (recomendado): Largura: 400; Altura: 800 → Clique OK .
- O chat agora aparecerá como uma sobreposição móvel na sua pré-visualização do OBS.
Método 2: Usar o link de incorporação do chat do YouTube
Este método é útil se você deseja um layout mais limpo ou maior controle.
Passos:
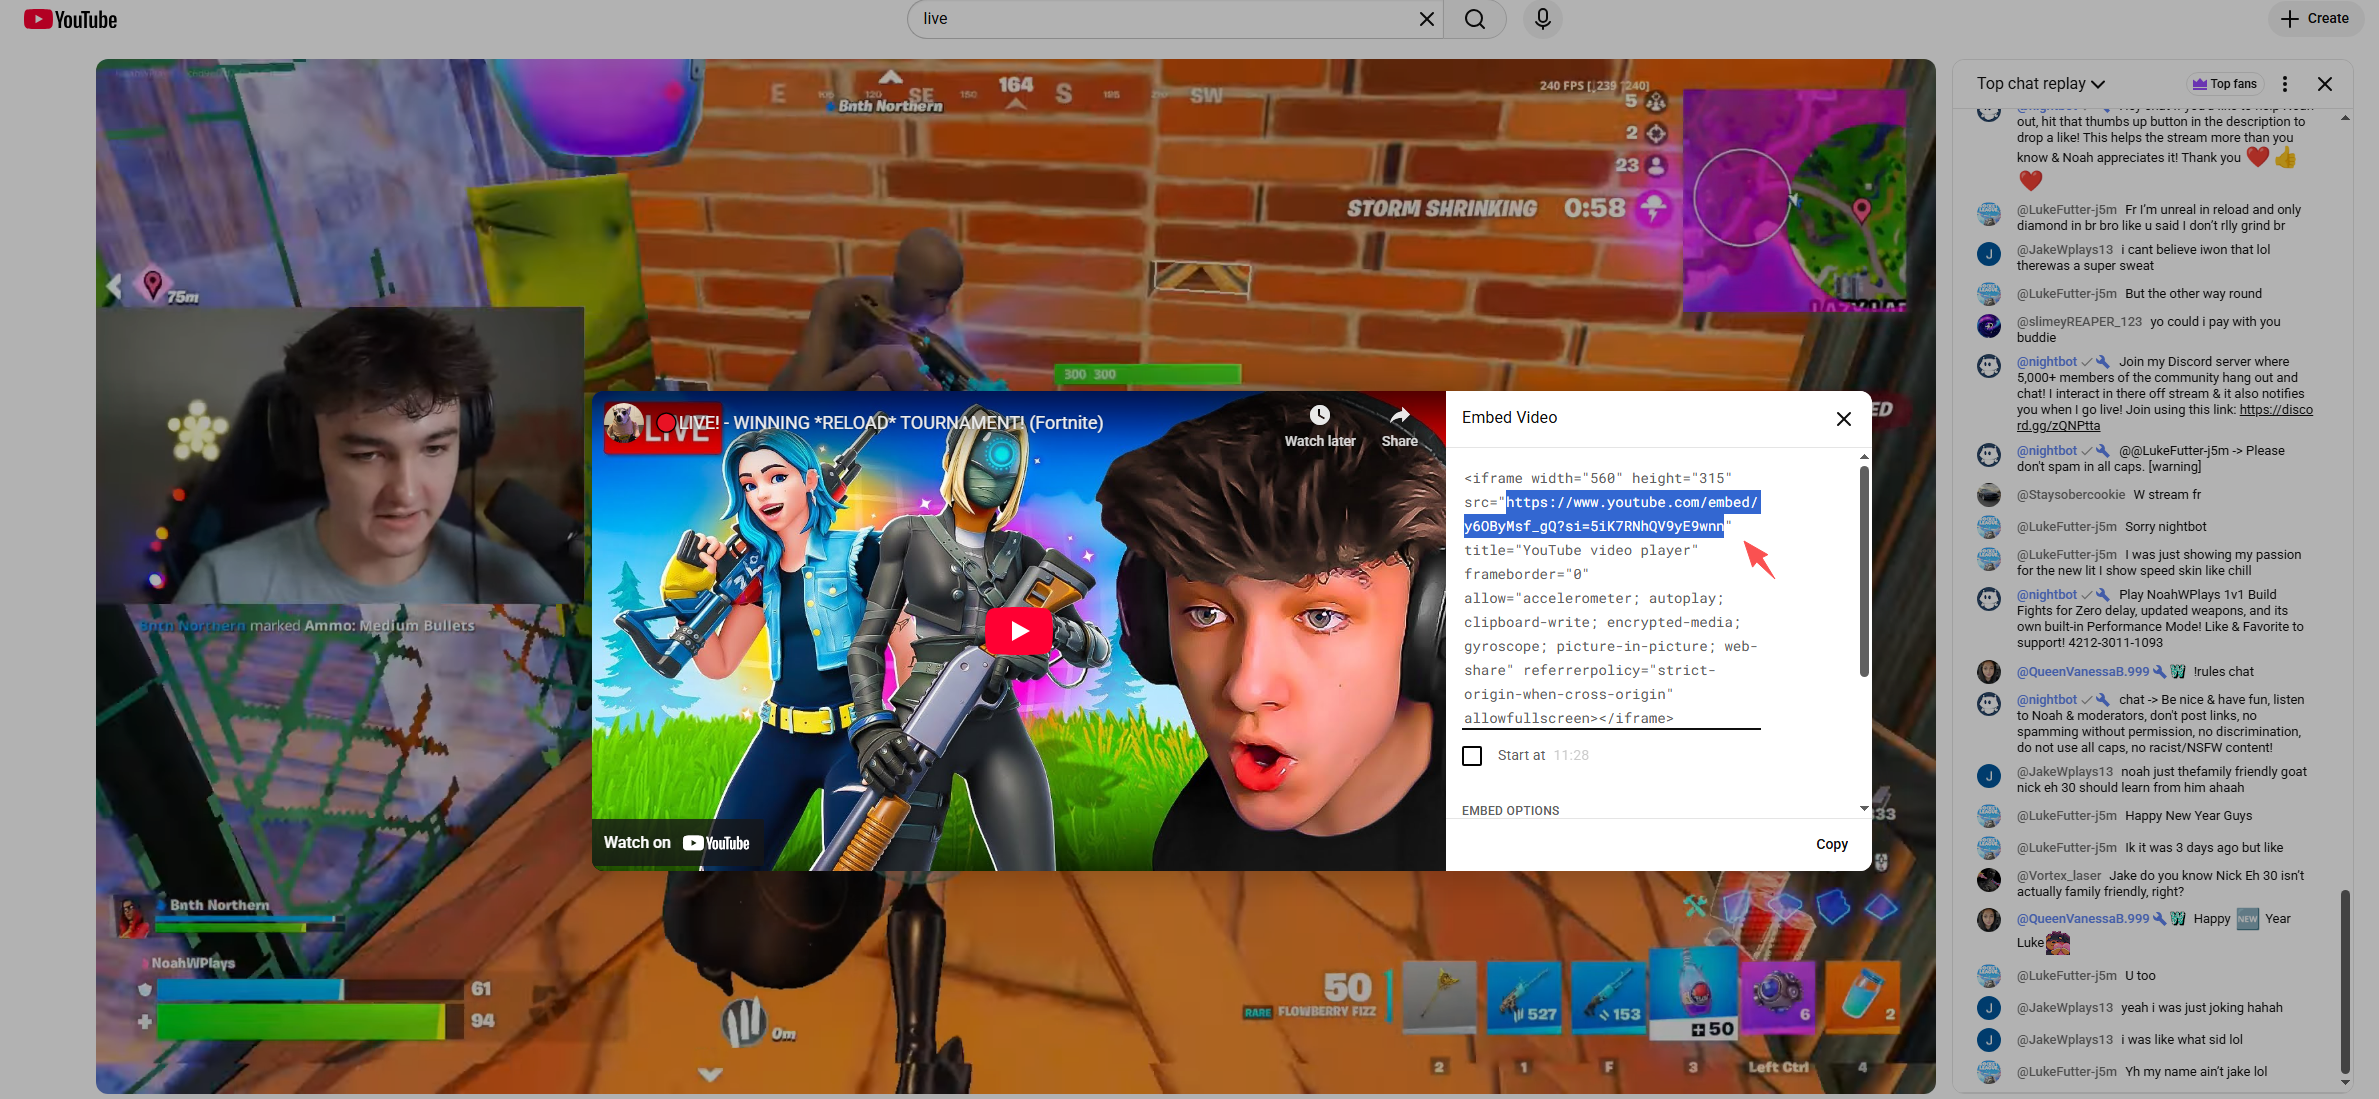
- Abra sua página de vídeo ao vivo do YouTube.
- Clique Compartilhar → Incorporar
- Copie o código do iframe
- Extraia o
srcURL do iframe - Cole esse URL no OBS. Fonte do navegador
Você pode personalizar a aparência adicionando parâmetros como:
&dark_theme=1para o modo escuro
Método 3: Utilizar serviços de sobreposição de chat de terceiros
Se você deseja mensagens animadas, emojis e efeitos visuais, ferramentas de terceiros funcionam bem.
As opções mais populares incluem:
- Streamlabs
- Elementos de fluxo
- Retransmitir bate-papo
Etapas gerais:
- Faça login no serviço de sobreposição
- Conecte sua conta do YouTube
- Ative o Widget de sobreposição de bate-papo
- Copie o URL da sobreposição fornecido.
- Adicione-o ao OBS como um Fonte do navegador
Essas ferramentas são ideais para streamers que desejam animações de chat com aparência profissional sem precisar estilizar manualmente.
Configurações recomendadas do OBS para sobreposição de bate-papo
Para evitar problemas comuns, ajuste estas configurações de Origem do Navegador no OBS:
- Desative a fonte quando ela não estiver visível. : DESLIGADO
- Atualize o navegador quando a cena ficar ativa. : SOBRE
- FPS : 30
CSS personalizado opcional para fundo transparente:
corpo {
cor de fundo: rgba(0, 0, 0, 0);
}
2. Problemas comuns e soluções
O chat não está aparecendo.
- Certifique-se de que sua transmissão esteja realmente ao vivo.
- Use o URL do chat em janela pop-up, não o URL do vídeo.
- Atualize a fonte do navegador
A conversa foi interrompida.
- Aumentar a largura da fonte do navegador
- Verificar transformação → Redefinir transformação
Fundo preto ou branco
- Ativar CSS personalizado
- Use parâmetros de tema escuro na URL.
3. Experimente a alternativa simples ao OBS para gravar vídeos do YouTube com bate-papo – Swyshare Recordit
Embora o OBS seja poderoso, pode parecer complexo demais para usuários que simplesmente desejam gravar transmissões do YouTube com o chat visível, especialmente para tutoriais, reações, entrevistas ou arquivamento de eventos ao vivo.
É aqui que Swyshare Recordit Destaca-se como uma alternativa simples e eficiente. Swyshare Recordit é uma solução completa para gravação de tela, projetada para usuários que desejam capturar vídeo, áudio do sistema, entrada de microfone e conteúdo da tela — sem configurações complexas. Ao contrário do OBS, Recordit Não requer cenas, fontes ou incorporações do navegador.
Principais vantagens de Recordit incluem:
- Gravação com um clique – sem configuração de cena
- Grave vídeos do YouTube e converse ao vivo juntos.
- Grave a tela inteira, a janela ou uma área personalizada.
- Suporte para áudio e microfone do sistema
- Ferramentas integradas para captura de tela e edição básica
- Interface amigável para iniciantes
Como gravar vídeos do YouTube com o chat funcionando Recordit :
- Baixar e instalar Swyshare Recordit no Windows ou Mac
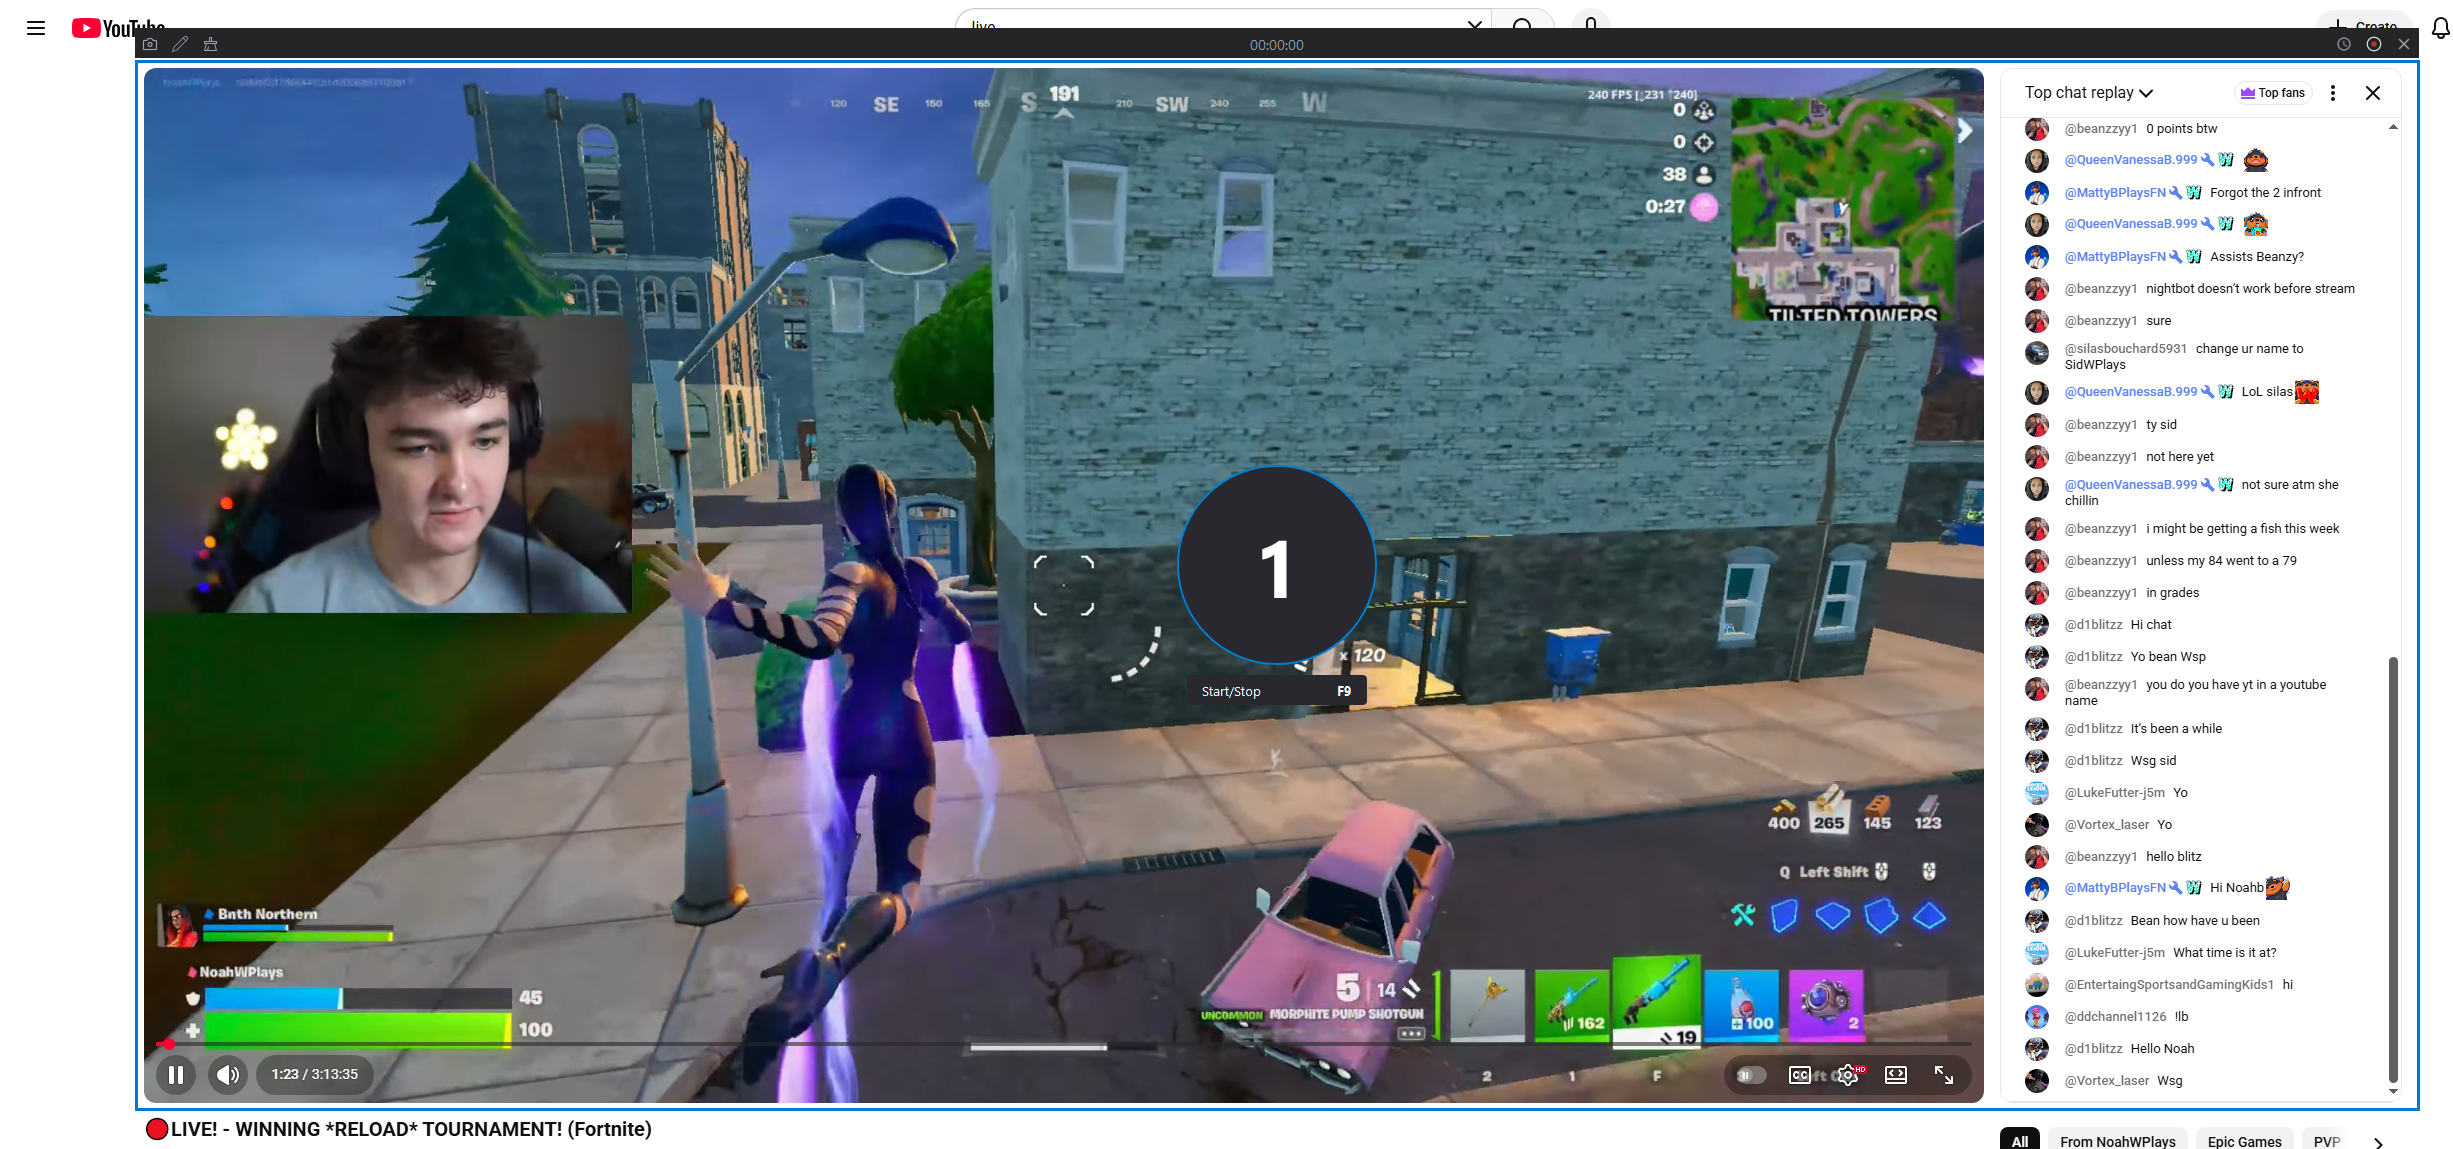
- Abra a transmissão ao vivo ou a reprodução no YouTube e certifique-se de que o chat ao vivo esteja visível na tela.
- Lançar Recordit Selecione a área de gravação e ligue o som do sistema (e o microfone, se necessário).
- Clique em Iniciar Gravação e a gravação começará a capturar a transmissão ao vivo do YouTube com o chat.
- Ao terminar, pare a gravação e encontre o vídeo gravado na aba “Arquivos”.
4. OBS vs Recordit Qual você deve escolher?
| Recurso | Estúdio OBS | Swyshare Recordit |
|---|---|---|
| Curva de aprendizado | Íngreme | Muito fácil |
| Configuração do chat | Manual | Automático (na tela) |
| Transmissão ao vivo | Sim | Não |
| Gravação com chat | Complexo | Um clique |
| Ideal para | Streamers | Criadores, educadores, críticos |
5. Conclusão
Exibir o chat do YouTube na sua transmissão usando o OBS aumenta o engajamento do público e torna seu conteúdo mais interativo. Ao usar as Fontes do Navegador do OBS, links de chat incorporados ou sobreposições de terceiros, você pode integrar totalmente o chat ao vivo à sua transmissão com resultados profissionais.
No entanto, o OBS nem sempre é a melhor solução para todos. Se você deseja principalmente gravar vídeos do YouTube ou transmissões ao vivo com chat incluído, sem se preocupar com configurações técnicas, Swyshare Recordit É uma alternativa inteligente e eficiente. Sua simplicidade, confiabilidade e abordagem de gravação baseada na tela a tornam ideal para criadores que valorizam velocidade e facilidade de uso.
Para transmissão ao vivo → OBS
Para gravar vídeos do YouTube com chat →
Swyshare
Recordit